 |
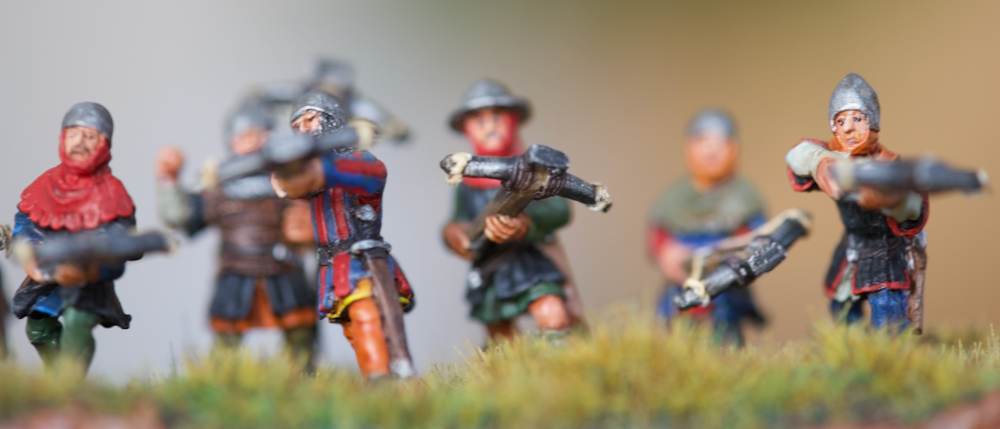
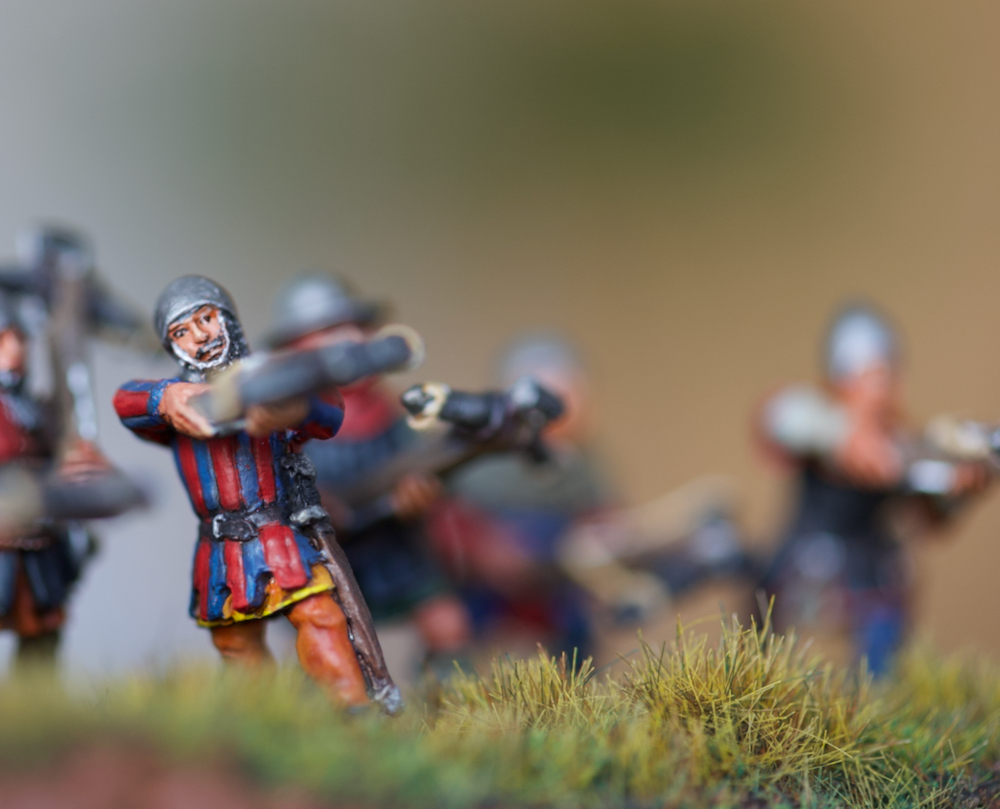
| Wargames Foundry HYW Crossbowmen Stand |
They are much superior to the recent multi part plastic Perry set which seem awkward and clumsy in comparison despite the wider range of poses possible. Apologies for the quality of the painting and assembly here -- this was my second ever set put together some months ago.
 |
| Perry Multi Part Plastic (plus one metal casualty in the back row) |
A better comparison is with the Front Rank metal HYW crossbowmen. These have some great personality and dynamic poses but are somewhat stylised in body form and as such cannot be mixed on the same stand with the Perry's but on separate stands they look nice.
 |
| Front Rank crossbow men - nice detailed and characterful sculpts |
Overall however I'm really pleased with how these came out -- especially the added crossbow strings and bolts (sorry these are rather too long!). At first I thought I could simply paint on fletching but this looked terrible so I ended up with some simple paper fletches like I use when I'm making stand alone arrows. While it's a pain in the but to locate them they came out nicely. All of this will stand me in good stead for the dozens of English archers I will have to string and give arrows too ...
 |
| This grizzled veteran is my favourite |

Next up perhaps some skirmishers and a simple house using the Terra Formers terrain system that I've decided to commit too -- just picked up cocktail sticks for my wattle fencing 😖 which I'm planning on weaving with some thick textured paper.
Nicely done Simon!
ReplyDeleteNice looking Xbows Simon and interesting comparisons
ReplyDeleteVery nice crossbowmen, strings and bolts look great!
ReplyDeleteI'm loving how his project is unfolding. I wish someone would do a figure of a crossbowman winding his weapon, with a bolt clenched in his teeth. How did you do the crossbow strings, Simon?
ReplyDeleteThanks all for the kind feedback!
ReplyDeleteCurt -- I like your figure idea, sounds like quite an easy conversion with careful dentistry!
The bow strings are Gutterman polyester button thread. My technique is to form a small slip knot and secure one end having notched the bow to hold the knot tight. Glue this point down with superglue. If a loosed bowstring then loop the other end pull tight and glue. If a taut string then glue down the mid point (where the catch would be), then add the other lop from there. Building a catch by digging it out of the metal can help but I didn't really get this to work that well. In the case of bows you can drill out the hand and thread through if that's possible. The only tricky bit is getting the last loop and pull tight.
You can then add superglue to the thread to stiffen it.
REMEMBER -- don't use cotton thread and superglue lest fire result!
Those I like!
ReplyDeleteLovely work, the bow strings are a very cool addition.
ReplyDeleteThanks great post and very interesting to see the comparison of the different manufacturers.
ReplyDeleteThey look good!
ReplyDeleteGood looking crossbow men and the comparison shots are really useful!
ReplyDeleteBest Iain
Great crossbowmen mate!
ReplyDelete